


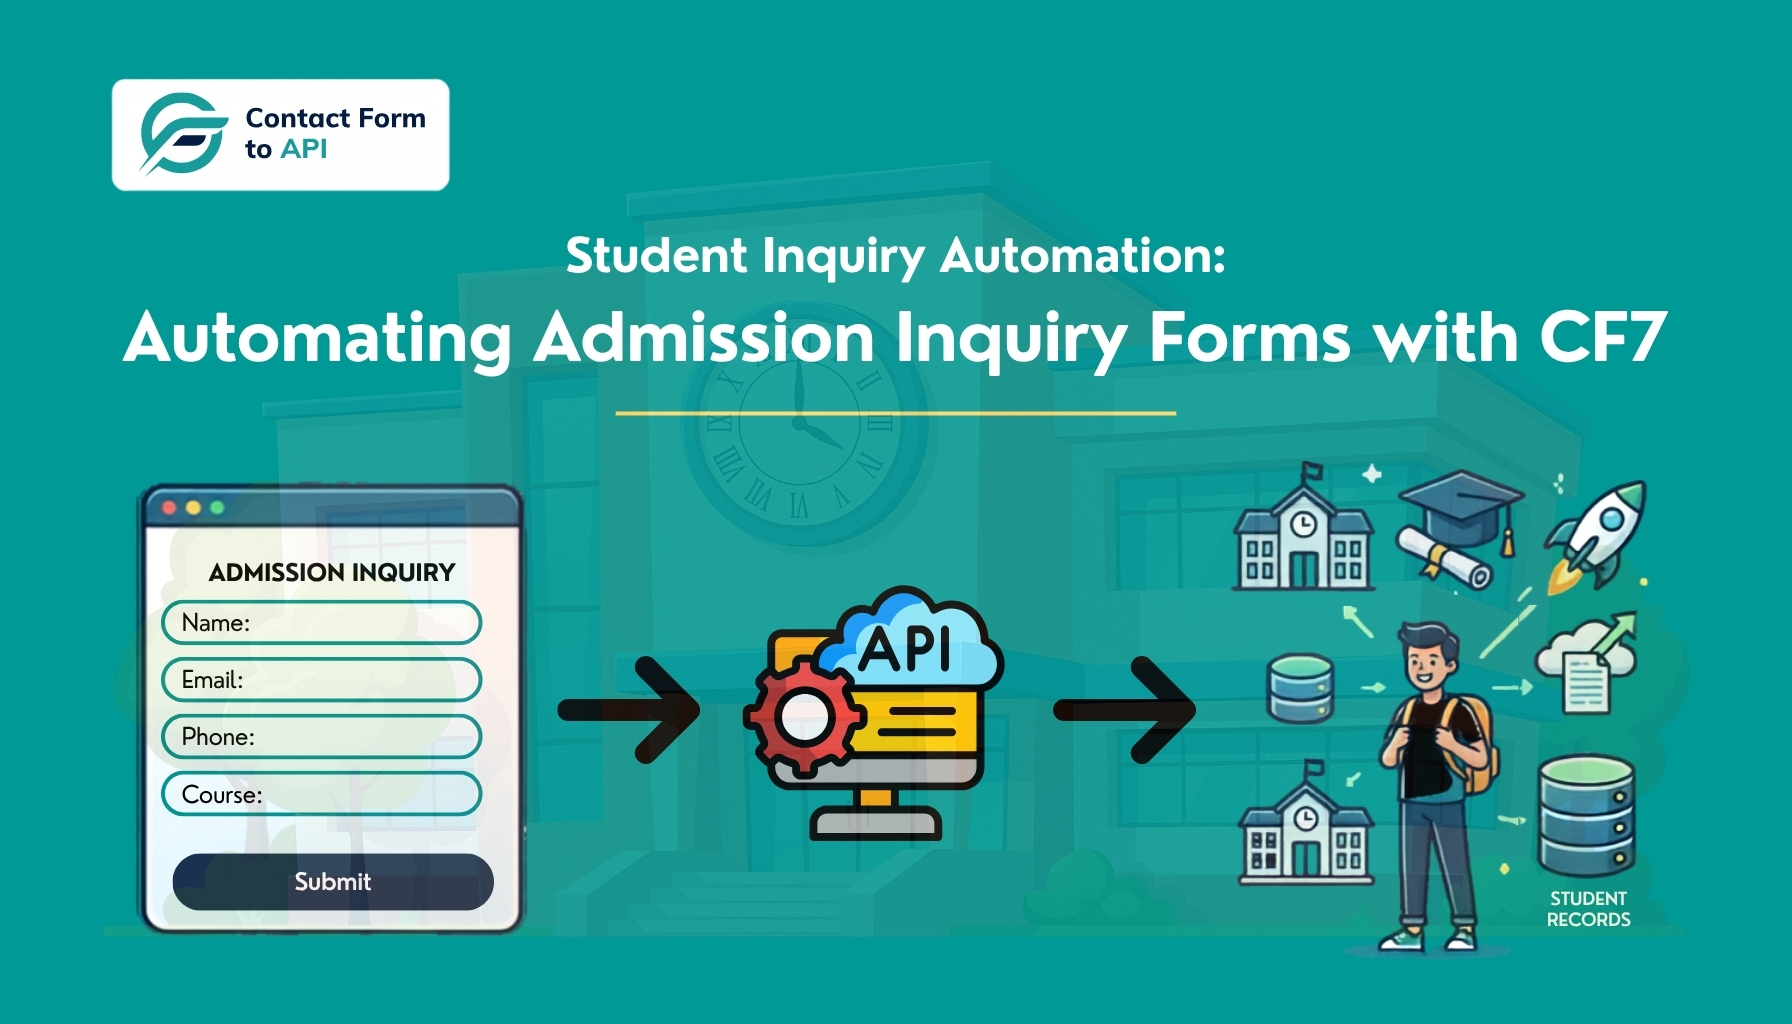
If your admission inquiry form sends an email and stops there, you already know the next part. Someone checks the inbox. Someone copies the details into a spreadsheet or CRM. Someone hopes nothing got missed along the way.
That manual hop is exactly what student inquiry automation is meant to remove. For schools, coaching centers, and training providers running their inquiry forms on WordPress with Contact Form 7, the fix doesn’t have to mean switching to a new admissions platform. It can mean connecting the form you already have to the system you already use, and letting the data move on its own.
This post walks through what student inquiry automation actually means on a WordPress site, why manual handling breaks down as inquiry volume grows, and exactly how Contact Form 7 and Contact Form to API work together to make it happen.
What Is Student Inquiry Automation for a WordPress Site?
Student inquiry automation, in the context of a WordPress site, means taking the information a prospective student submits through your admission inquiry form and getting it into the system where your team actually works, without anyone retyping it.
Most institutions already have half of this in place. The form exists. A visitor fills it out. Contact Form 7 sends an email or saves the entry. That part works fine.
The gap shows up right after. A submitted form is not the same thing as a lead that’s actually inside your CRM, your spreadsheet, or your team’s notification channel. Until that transfer happens, the inquiry sits in an inbox, waiting for someone to act on it.
This post focuses specifically on that transfer layer. Not the form itself, not the CRM, but the connection between the two.
It’s worth being upfront about scope here too. For institutions handling a high volume of inquiries, or ones that need AI-driven triage, lead scoring, or compliance workflows, a full admissions platform may genuinely be the better tool. We’ll come back to that comparison later in this post. But for a school or training provider that already has a working CF7 form and just needs the data to land somewhere useful, the form-to-destination layer is usually the only piece missing.
The Problem With Manual Admission Inquiry Handling on WordPress
By default, Contact Form 7 does two things with a submission. It can email a notification to your admissions inbox, and it can store the entry in the WordPress database if you’ve set that up. That’s where it stops.
CF7 was never built to push data anywhere else. It has no native way to create a CRM record, add a row to a spreadsheet, or alert a counselor on Slack. Every one of those steps, if they happen at all, happens because a person does it manually.
For a school fielding a handful of inquiries a week, that might be manageable. For an institution running multiple programs, seasonal admission cycles, or paid lead generation campaigns, it adds up fast. Inquiries get checked once a day instead of in real time. Details get mistyped during copy-paste. Some inquiries never make it into the CRM at all, simply because nobody got to them before the next batch arrived.
The cost isn’t abstract either. A prospective student who fills out an inquiry form is often comparing several institutions at once. The one that responds first tends to have the advantage, and a delay caused by manual data entry is a delay your admissions team didn’t actually choose. This is the functional gap that student inquiry automation is meant to close. The rest of this post covers how to close it without migrating off CF7.
How Contact Form to API Connects CF7 to Your Lead Management Tools
Contact Form to API is a WordPress plugin that sits between Contact Form 7 and whatever system you want that data to reach. When a visitor submits your admission inquiry form, the plugin takes the submitted values and sends them, in real time, to an API endpoint (a specific web address) you’ve configured.
That’s the entire mechanism. CF7 collects the inquiry. Contact Form to API delivers it.
The core piece of work happens in field mapping. Every destination system, whether it’s a CRM, a spreadsheet tool, or an internal database, expects data in its own format. Contact Form to API lets you map each CF7 field, name, email, phone, program of interest, to the exact parameter name the destination API requires. That mapping is what makes the connection meaningful instead of just sending raw, unstructured form data and hoping it lines up.
The plugin also handles authentication, since most APIs require it. Depending on the destination, that might mean an API key, a bearer token, or basic authentication. And because a single inquiry sometimes needs to go more than one place, such as a CRM record and a Slack alert from the same submission, Contact Form to API supports sending data to multiple endpoints at once.
It’s worth restating what this is and isn’t. Contact Form to API does not manage your leads, store your admissions data long term, or replace your CRM. It moves the data from CF7 to the destination you choose. The CRM, spreadsheet, or notification tool still does its own job.
Working with a different CRM or business application? Chances are we’ve covered it.
Explore our API integration guides for practical walkthroughs that help you connect Contact Form 7 with popular services and custom APIs.
Where Can Admission Inquiries Be Routed? CRM, Spreadsheets, Email, and More
Once your form is connected through Contact Form to API, the next question is where the data should actually go. This is the education lead management side of the equation, and the right destination depends on how your team currently works.
A CRM is the most common choice for institutions that want real pipeline tracking, following a prospective student from initial inquiry through enrollment. Sending inquiry data straight to your CRM’s API means a new lead record gets created the moment someone submits the form, with no manual entry step in between.
Spreadsheets remain useful for smaller teams or simpler tracking needs. If your admissions process doesn’t require a full CRM yet, having inquiries land automatically in a Google Sheet still beats checking an inbox and copying entries by hand.
Email and Slack notifications serve a different purpose entirely, instant awareness. A counselor getting pinged the second a high-priority inquiry comes in can respond faster than one who only checks a shared inbox once a day.
For systems that don’t expose a direct API, automation hubs like Zapier or Make can act as a bridge, receiving the data from Contact Form to API and routing it onward into a wider range of tools. This adds a step to the chain, but it opens up destinations that wouldn’t otherwise be reachable directly.
Looking for a way to sent Contact Form 7 submissions to multiple APIs at the same time?
Read our full documented guide
Step-by-Step: Automating Your Admission Inquiry Form With CF7 and Contact Form to API
Here’s the actual setup, from a working CF7 form to a fully automated student inquiry automation workflow.
Step 1: Build or Review Your Admission Inquiry Form in CF7
Before connecting anything, confirm your form’s field names. Most admission inquiry forms collect a similar set of details, full name, email, phone number, program of interest, and a message field. These field names matter because you’ll be mapping each one to a destination parameter in a later step, so it helps to know exactly what your CF7 form is currently labeled as.
If your form already exists, open it in the CF7 editor and note each field’s name attribute. If you’re building it fresh, keep the field names simple and consistent so mapping is easier down the line.
Step 2: Install and Activate Contact Form to API
From your WordPress dashboard, install Contact Form to Any API and activate it like any other plugin. This step is standard WordPress administration and doesn’t require any special setup beyond having Contact Form 7 already active on the site.
Step 3: Create a New API Connection
This is where you tell the plugin where the data should go. You’ll set the destination endpoint URL, which is the address the data gets sent to, and the authentication method that endpoint requires.
Depending on your CRM or destination system, authentication might be an API key, a bearer token, or basic authentication credentials. You’ll typically find these details in your destination system’s own API or developer settings.
Need a little extra guidance?
Explore the Contact Form to API integration playlist, where you’ll find practical tutorials covering popular integrations, configuration best practices, and real examples to simplify your setup.
Step 4: Map CF7 Form Fields to the Destination’s Expected Parameters
This step is the actual crux of student inquiry automation, and it’s the part that gets skipped over in most generic explanations.
Your CF7 form has its own internal field names, something like “your-name” or “your-email.” Your destination system, say a CRM, expects its own parameter names, like “full-name” or “email-address.” Field mapping connects the two, so when a student submits the form, their name lands in the correct field on the CRM side instead of getting dropped or misfiled.
Go through each field in your form one at a time and map it to the matching parameter on the destination. Program of interest, phone number, and any custom fields should all get mapped the same way.
Step 5: Set the Trigger and Any Conditional Logic
Configure the connection to fire on successful form submission, so every completed inquiry sends automatically without anyone clicking a button.
If you want inquiries routed differently based on a field like “program of interest,” for example sending engineering program inquiries to one counselor and business program inquiries to another, this is where that branching logic gets set up.
Step 6: Submit a Test Inquiry
Before relying on this for real student inquiries, submit a test entry through your live form. Check that it arrives correctly at the destination, whether that’s a new CRM record, a new spreadsheet row, or a Slack or email notification.
Confirm the field mapping held up and that nothing arrived blank or mismatched.
Step 7: Check Logs for Failed Submissions
Once the workflow is live, occasionally check the plugin’s request logs.
They show successful API calls as well as failed requests and error responses, which makes it easier to catch a broken connection, an expired authentication token, or a mapping issue before it causes a string of missed inquiries.
A quick note on destinations. The specifics of steps 3 and 4 will vary depending on what you’re connecting to. A CRM with its own API, a Google Sheets connection, a Slack or email webhook, and an automation hub like Zapier or Make acting as an intermediary each have slightly different setup details, even though the overall process stays the same.
Looking for a simpler way to automate Contact Form 7?
Explore our guide on automating Contact Form 7 without Zapier to discover a more direct, flexible approach to connecting your forms with external APIs.
When Lightweight Form Automation Is Enough, and When You Need a Full Admissions Platform
CF7 paired with Contact Form to API works well for institutions with low-to-moderate inquiry volume, a small admissions team, and a need to route data to one or two destinations without much complexity. A coaching center sending inquiries to a CRM, or a language school routing them to Slack and a spreadsheet, fits this setup comfortably.
There are real situations where a full admissions platform makes more sense. If your institution is processing a high volume of inquiries across multiple channels, needs AI-driven lead scoring to prioritize prospects automatically, or requires built-in compliance features for regulations like FERPA or GDPR, those are capabilities that belong to a dedicated platform, not a lightweight connector plugin.
Compliance doesn’t end when a form is submitted. Explore our GDPR-compliant Contact Form API integration guide to learn how to protect user data throughout your entire API workflow, from collection to deletion.
Contact Form to API doesn’t do lead scoring. It doesn’t run a chatbot. It doesn’t manage compliance on your behalf. It’s a data-routing layer that gets inquiry information from CF7 to wherever you’ve configured it to go. For many small and mid-size institutions, that’s the exact piece that was missing. For larger operations with more complex admissions funnels, it’s worth evaluating whether a full platform better fits the scale of what you’re managing.
Automation That Fits the Admissions Workflow You Already Have
Student inquiry automation doesn’t have to mean replacing your admissions process with a new platform. For most schools and training providers already running an admission inquiry form on CF7, the missing piece is simply getting that data to move on its own, from the form into the CRM, spreadsheet, or notification tool your team actually relies on.
Contact Form to API handles exactly that layer. It maps your form fields, authenticates with your destination, and sends each inquiry through the moment it’s submitted, without asking you to rebuild anything you already have. If manual data entry has been quietly slowing your admissions team down, this is usually the simplest place to start.
Frequently Asked Questions
- What is student inquiry automation?
Student inquiry automation is the process of automatically handling and routing admission inquiries submitted through a website form, rather than managing them manually. For a WordPress site, this typically means an admission inquiry form built in Contact Form 7 sends submission data directly to a CRM, spreadsheet, or notification tool using Contact Form to API, so no inquiry has to be copied or forwarded by hand.
2. How do I automate admission inquiry forms in WordPress?
To automate admission inquiry forms in WordPress, build the form in Contact Form 7, then install Contact Form to API to connect it to an external destination such as a CRM, Google Sheet, or notification service. Configure the API connection, map the form fields to the destination’s fields, and set the form to send data automatically on every submission.
3. Can Contact Form 7 send data to a CRM automatically?
Contact Form 7 alone does not send submission data to a CRM. By default, it only emails or stores submissions within WordPress. To send admission inquiry data to a CRM automatically, you need an additional tool like Contact Form to API, which connects the form to the CRM’s API and pushes each submission as a new record.
4. Does automating admission inquiry forms require coding knowledge?
Setting up Contact Form to API to automate an admission inquiry form generally does not require writing code. Configuration happens through field mapping and connection settings inside the WordPress admin. That said, some advanced setups, such as custom authentication or specific API formats, may require referencing the destination service’s own API documentation.
5. What’s the difference between education lead management software and a form automation plugin?
Education lead management software, like a CRM, is a destination system designed to track, score, and nurture prospective students through the admissions funnel. A form automation plugin like Contact Form to API is the connector that gets inquiry data from your website form into that system. It doesn’t replace the CRM’s tracking or nurturing features, but it removes the manual step of getting data there in the first place.
6. Can Contact Form to API send admission inquiries to Google Sheets or Slack?
Contact Form to API is built to send Contact Form 7 submissions to API endpoints, which can include services like Google Sheets or Slack depending on how the connection is configured, either directly or through an intermediary like Zapier or Make.


