

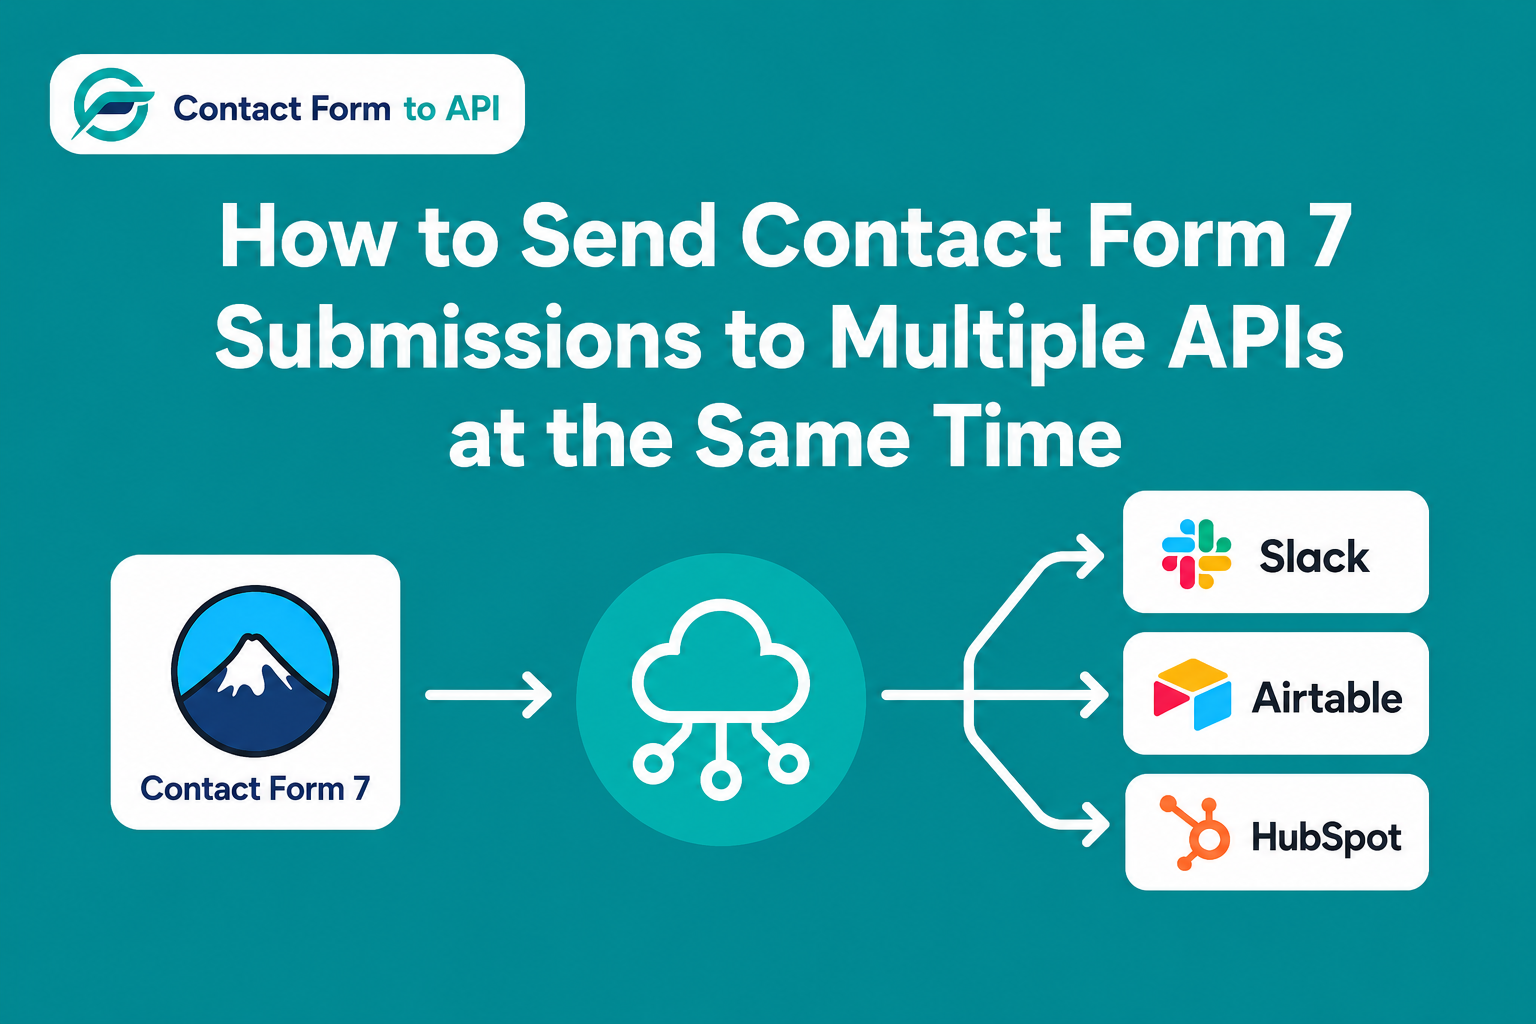
Contact Form 7 does not natively support sending one submission to multiple API endpoints at the same time. TO execute this without any middleware, install Contact Form to API. The plugin lets you configure multiple independent API connections per form, each with its own endpoint URL, request method field mapping, and authentication. When a visitor submits the form, all configured connections fire in sequence. No Zapier account or external relay is required.
We very well know that Contact Form 7 sends an email notification when someone submits a form. That is all it does natively. There is no built-in Contact Form 7 API integration system to route submission data to an external API, a CRM, or a spreadsheet.
Most plugins built to extend Contact Form 7 with API or webhook support follow the same single-destination model. They let you configure one endpoint URL per form. One popular webhook addon listed on the “contact form 7 webhook” search results explicitly supports only one outgoing URL per form. If you need to send data to two or three places at once, that architecture does not work.
This matters in practice. Think about what happens when someone fills out your contact form. You might need that lead to appear in your CRM so a sales rep can follow up. You might also need it to log in a shared Google Sheet so your whole team can see it. And you might want a Slack notification so someone is alerted immediately. That is three separate destinations from a single form submission, and no single-destination plugin can handle all three at once.
Contact Form 7 does list some native service integrations on its official website, but most of them are designed for single-destination workflows. In real business use cases, this is not helpful and workflow starts becoming difficult to manage efficiently inside Contact Form 7 alone. The multi-destination problem is real, and it does have a solution, which the rest of this post covers.
Why Do People Use Zapier for This, and What Does It Actually Cost?
When people want to send Contact Form 7 submissions to more than one tool, Zapier is usually the first solution they reach for. The setup looks like this: you install a webhook plugin on CF7, that plugin sends the submission data to a Zapier webhook URL, and then Zapier distributes it to multiple Zaps. One Zap creates a CRM contact. Another Zap logs a row in Google Sheets. A third Zap posts a Slack message.
This works, and there is a genuine reason Zapier is popular for it. Zapier supports over 5,000 apps, including many platforms that do not expose a standard REST API. Its visual workflow builder is also well suited for complex conditional logic, such as routing different form submissions to different destinations based on field values. For that kind of branching, Zapier is a strong tool.
However, the relay structure adds a dependency outside your WordPress site. If the webhook delivery from CF7 to Zapier fails, or if Zapier experiences downtime, the submission data does not reach any of your destinations. That is an additional point of failure that does not exist in a direct Contact Form 7 API integration setup.
There is also a cost consideration. Zapier counts each action in a Zap as a “task.” Sending one form submission to two destinations uses two tasks. If your form receives 500 submissions per month and you route each one to two destinations, that is 1,000 tasks per month. Zapier’s paid plans are tiered by task volume, so costs grow as your form volume grows.
For a straightforward setup where you want to send submissions to two to five fixed API destinations, a direct plugin that fires those connections from inside WordPress is simpler and costs less at volume. Contact Form To API works this way. It removes the relay entirely.
What Is Contact Form To API and How Does Multi-Endpoint Support Work?
Contact Form To API is a WordPress plugin that adds an API request builder inside the WordPress admin, connected directly to your Contact Form 7 forms. When someone submits a form, the plugin sends HTTP requests to the external API endpoints you have configured. Everything happens from inside WordPress, without routing data through an external automation platform. This is what makes it a true direct Contact Form 7 API Integration rather than a relay-based one.
The way it handles multiple destinations is straightforward. Each API destination you want to reach is set up as a separate connection inside the plugin. Each connection has its own endpoint URL, its own request method (POST or GET), its own field mapping that matches your CF7 field names to the field names the destination API expects, and its own authentication credentials. When a form is submitted, all configured connections fire from the same submission event.
The plugin supports Bearer Token, Basic Auth, OAuth 2.0, and API key header authentication. Because each connection is configured independently, you can use different authentication methods for different destinations on the same form. For example, one connection can use a Bearer Token for HubSpot while a second connection uses an API key for a different endpoint.
On the free plan, Contact Form To API supports up to 5 API connections per form. This is enough for most common integration needs. If you need more connections, you can upgrade to the Pro plan. Knowing this limit in advance helps you plan your integrations more effectively.
How Do You Set Up Contact Form 7 to Send Submissions to Two APIs at Once?
The example below uses HubSpot as the first destination and Google Sheets as the second. You can follow the same process for any two API-accessible platforms. This is one of the most common Contact Form 7 API Integration setups because it keeps leads in a CRM and in a shared spreadsheet at the same time.
Step 1: Install Contact Form To API
Go to your WordPress dashboard and navigate to Plugins, then Add New. Search for “Contact Form To API” and install the plugin from the WordPress.org directory. Activate it. After activation, open any of your existing Contact Form 7 forms. You should see a new tab added to the form settings by the plugin. Confirm this tab appears before moving forward.
Step 2: Open the form you want to configure
In your WordPress dashboard, go to Contact, then Contact Forms. Select the form you want to configure. Inside the form editor, look for the API tab that Contact Form To Any API has added to the form settings. Click that tab to open the API connection interface.
Step 3: Add the first API connection for HubSpot CRM
Click the button to add a new API connection. Give this connection a name you will recognize, such as “HubSpot CRM.”
Enter the HubSpot Contacts API endpoint URL in the endpoint field. The standard HubSpot v3 contacts endpoint is https://api.hubapi.com/crm/v3/objects/contacts. Please confirm the current correct endpoint in HubSpot’s API documentation before saving, as API endpoints can change between versions.
Select POST as the request method.
Under authentication, select Bearer Token and enter your HubSpot private app token. You can generate a private app token inside HubSpot under Settings, then Integrations, then Private Apps.
In the field mapping section, map your CF7 field names to the HubSpot property names. For example, map your-name to firstname and your-email to email. Add a row for each field you want to send.
Save the connection and use the plugin’s test feature to send a test request. Confirm a contact appears in HubSpot before adding the second connection.
Also read – How to Integrate Contact Form 7 with HubSpot Using API (Step-by-Step Guide)
Step 4: Add the second API connection for Google Sheets
Google Sheets does not have a simple REST API endpoint you can post JSON to directly without OAuth setup. A practical option is to use a Google Sheets API wrapper service such as SheetDB or Sheety. These services give you a simple POST endpoint URL that writes rows to a connected spreadsheet. Create an account on your chosen wrapper service, connect it to your Google Sheet, and copy the endpoint URL it provides.
Back in the plugin’s API tab on your form, click the button to add a second API connection. Name it something like “Google Sheets Log.”
Paste the wrapper endpoint URL into the endpoint field. Select POST as the request method.
Map your CF7 field names to the column headers in your Google Sheet. For example, if your sheet has columns called Name and Email, map your-name to Name and your-email to Email.
Save the connection and test it. Confirm a new row appears in your Google Sheet.
Step 5: Submit a test form entry
Go to the page on your website where the form is embedded and submit a test entry with real-looking data. Check both HubSpot and your Google Sheet to confirm the submission data arrived in both places.
Step 6: Check the API log
The plugin includes an API log in its dashboard that records the response status for each connection. Open the log and confirm that both the HubSpot connection and the Google Sheets connection returned success responses for your test submission. If either connection shows an error, the log will show the response code and message, which you can use to troubleshoot the field mapping or authentication.
A few things worth knowing about how this Contact Form to API integration behaves in practice. If one connection returns an error, the other connections still fire. A failure in the HubSpot connection does not stop the Google Sheets connection from running. Please verify the plugin’s current retry behaviour in its documentation, as the retry policy for failed requests may vary by version.
Also note that if your CRM uses OAuth 2.0 rather than Bearer Token, the connection configuration uses the same interface, but you will need to complete the OAuth authorization flow first before the connection can send requests.
If you want to add a third destination, such as a Slack notification, you can add a third API connection using your Slack Incoming Webhooks URL. No additional plugin is needed for this.
What Are the Most Useful Two-Destination Combinations to Set Up?
The walkthrough above uses HubSpot and Google Sheets as the example, but the same configuration process applies to any two API-accessible platforms. Here are combinations that work well for common use cases.
- CRM and Google Sheets.
Every lead submission creates a record in HubSpot, Salesforce, or Zoho, and at the same time logs a row in a shared spreadsheet that team members can access without needing a CRM login. This is useful for teams where not everyone has a CRM seat.
Still deciding which CRM to connect to your form? This guide to Contact Form 7 CRM integration plugins covers the most widely used options and how they compare.
- CRM and Slack.
The CRM record is created for the sales team, and a Slack message fires instantly to a dedicated channel such as #new-leads, including the submitter’s name and email. This means the team sees new leads in real time without logging into the CRM.
- Airtable and an email marketing platform.
Lead data is sent to an Airtable base that the team uses as a lightweight CRM, and at the same time a subscriber is created in Mailchimp or ActiveCampaign so the lead enters an automated email sequence immediately.
- HubSpot and a custom internal API.
Submissions go to HubSpot for lead management and simultaneously send data to an internal endpoint, for example a company intranet or a custom database, that needs to be kept in sync.
Each combination requires its own authentication setup. Before configuring a connection to any platform, check that platform’s API documentation for the correct endpoint URL and the authentication method it requires. Not every platform uses Bearer Token auth, and some require additional setup steps before the endpoint will accept requests.
Do You Need a Zapier Account to Send Contact Form 7 Data to Multiple Places?
No. Contact Form To API handles multi-destination routing entirely inside WordPress. You do not need a Zapier account, a Make account, or any external automation platform to send CF7 submissions to two or more API destinations at the same time.
The Zapier relay, where CF7 sends a webhook to Zapier and Zapier distributes it to multiple Zaps, is one way to solve the multi-destination problem. It is not the only way. For setups where you want to send submissions to two to five fixed destinations that accept REST API requests, a direct plugin removes the relay and the per-task cost that comes with it.
There are scenarios where Zapier is the better choice. If you need to route submissions conditionally based on form field values, such as sending enterprise leads to one CRM and small business leads to another, Zapier’s visual workflow builder handles that branching well. If one of your destination platforms does not have a public REST API, Zapier may support it through a native app connector that a direct plugin cannot replicate. Zapier’s breadth of supported apps is a genuine advantage for complex, conditional, or multi-platform workflows.
For straightforward fanout to a small number of fixed endpoints, the direct-plugin approach is simpler to configure and less expensive at volume. The cost argument is specific to this use case. It is not a general statement about Zapier’s reliability or quality as a platform.
If you want a deeper look at how this works without any external automation platform, read our guide on automating Contact Form 7 without Zapier.
Frequently Asked Questions
- Can Contact Form 7 send data to more than one API at the same time?
Yes. Contact Form To API adds multi-endpoint support to Contact Form 7. You configure independent API connections per form, each with its own URL, authentication, and field mapping. When a visitor submits the form, all connections fire from the same submission event inside WordPress. No external relay or middleware is required. The free plan supports up to 5 connections per form. Please verify this limit in the current plugin documentation before relying on it.
2. Do I need Zapier to connect Contact Form 7 to multiple tools?
No. The typical Zapier relay, where CF7 submits to a webhook and Zapier distributes it to multiple Zaps, can be replaced by configuring multiple API connections directly inside Contact Form To API. This removes the per-task cost of Zapier and eliminates the external relay from the process. Zapier remains a better fit if you need conditional logic across a large number of apps or need to connect to platforms that do not offer a REST API.
3. What authentication methods does Contact Form 7 API integration support?
Contact Form To API supports Bearer Token, Basic Auth, OAuth 2.0, and API key header authentication. Please confirm the full list from the plugin’s documentation before configuring a production setup. Each API connection inside the plugin is configured independently, so one connection can use Bearer Token for HubSpot while a second connection uses a different method for another endpoint, all within the same form.
4. How many API connections can I add to one Contact Form 7 form?
On the free plan, Contact Form To API allows up to 5 API connections per form. Each connection is configured independently with its own endpoint, method, field mapping, and authentication, so all five can point to different platforms at the same time. The Pro plan removes this limit. Please verify the current Pro plan connection limit in the plugin’s official documentation.
5. Why is my Contact Form 7 webhook only sending to one place?
Most standalone Contact Form 7 webhook plugins are designed to send data to a single webhook URL per form. If you need to send to multiple destinations at the same time, you need a plugin that supports multiple independent endpoint configurations on the same form. Contact Form To API supports this natively without requiring a webhook relay service. As an alternative, a Zapier webhook can receive a single outbound webhook and distribute it to multiple Zaps, though this adds per-task cost and introduces an external dependency.
6. Can I send Contact Form 7 submissions to Google Sheets and a CRM at the same time?
Yes. Inside Contact Form To API, you configure two separate API connections on the same form. One connection points to your CRM’s API endpoint, such as HubSpot, Salesforce, or Zoho. The other connection points to your Google Sheets endpoint, which you can set up through a Google Sheets API wrapper service. Both connections fire on every submission. The field mapping for each connection is set independently, so you can choose which fields go to each destination. Please verify that field mapping works independently per connection in the current plugin version before building a production setup that relies on this behaviour.


